
Your gas grill needs a little love! With grilling season ahead, it’s the perfect time to give it a fresh start. These gas grill cleaning tips will help you avoid fire hazards, improve cooking results, and extend the life of your grill.
A buddy of mine once had a full-on grease fire—it took an entire fire extinguisher to put it out. His $50 steaks were ruined, but luckily, he didn’t burn down his house. Let’s make sure that doesn’t happen to you.
Tools You’ll Need for Your Spring Grill Tune-Up
 You likely have most of these already, or can grab them all for under $10:
-
Newspaper or a drop cloth
-
1-inch putty knife
-
4-inch putty knife (optional)
-
Wire brush
-
Gloves
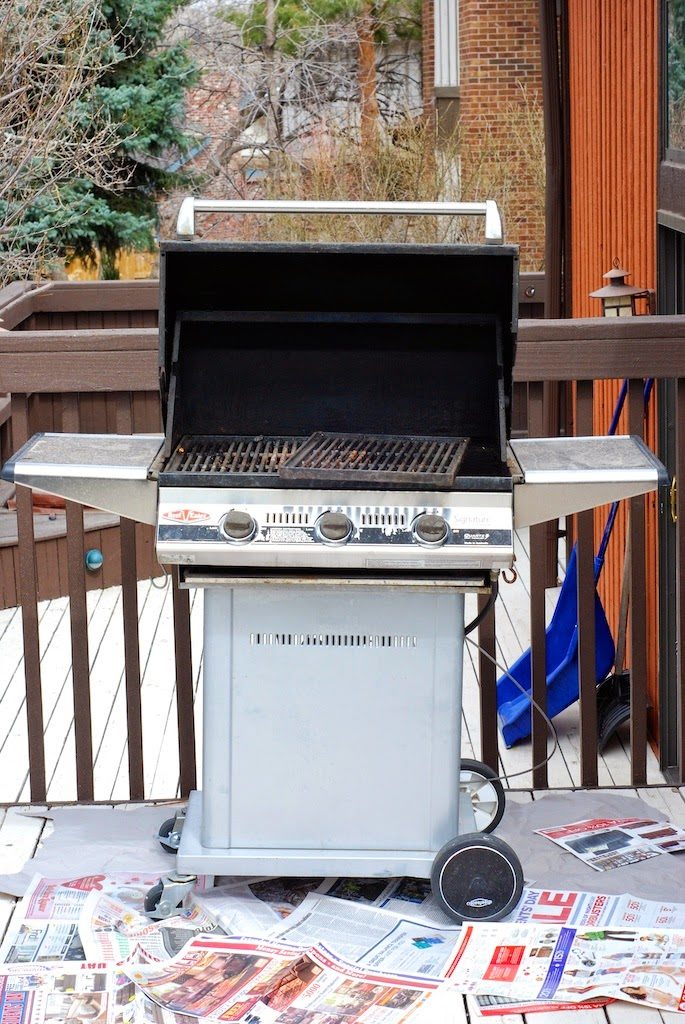
Set Up for Success
Start with a cold grill. Spread newspapers or a drop cloth underneath—not your lawn or rocks, or you’ll attract critters.
Important: Skip the oven cleaner. You don’t want harsh chemicals on your grill. Even hot, soapy water can be messy and ineffective. Your goal is to remove grease and debris, not to restore it to showroom shine.
Start at the Top: Cleaning the Inside of Your Gas Grill
Open the lid and scrape the inside with your putty knife to remove built-up soot, ashes, and grease. Work your way down—this sends all the crud to the drip pan where it’s easier to clean.
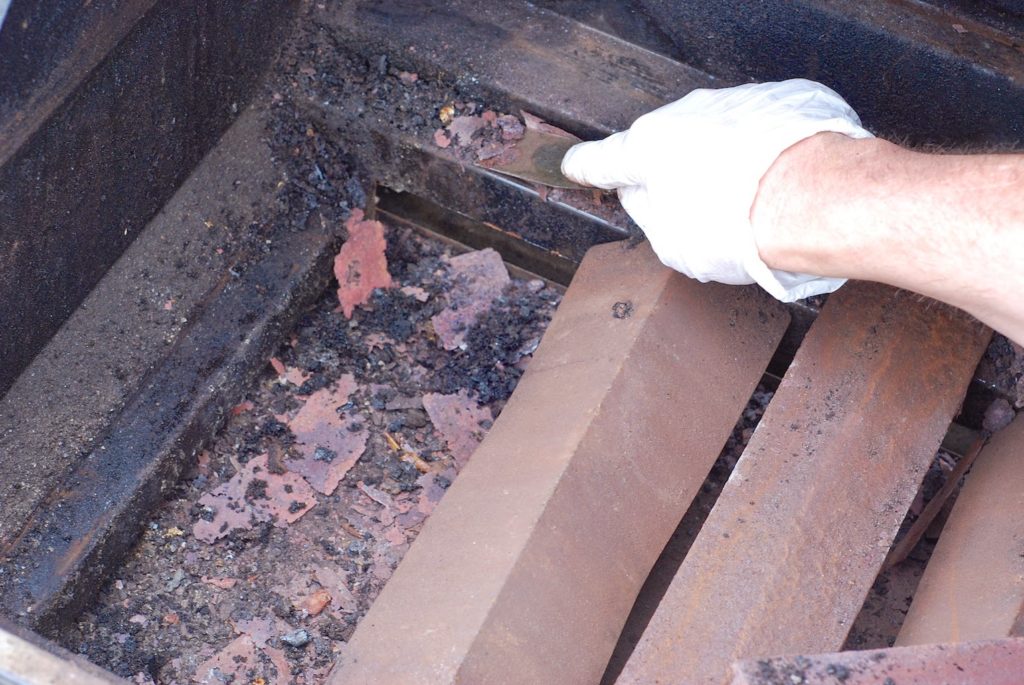
Grates, Heat Deflectors & Heating Elements
-
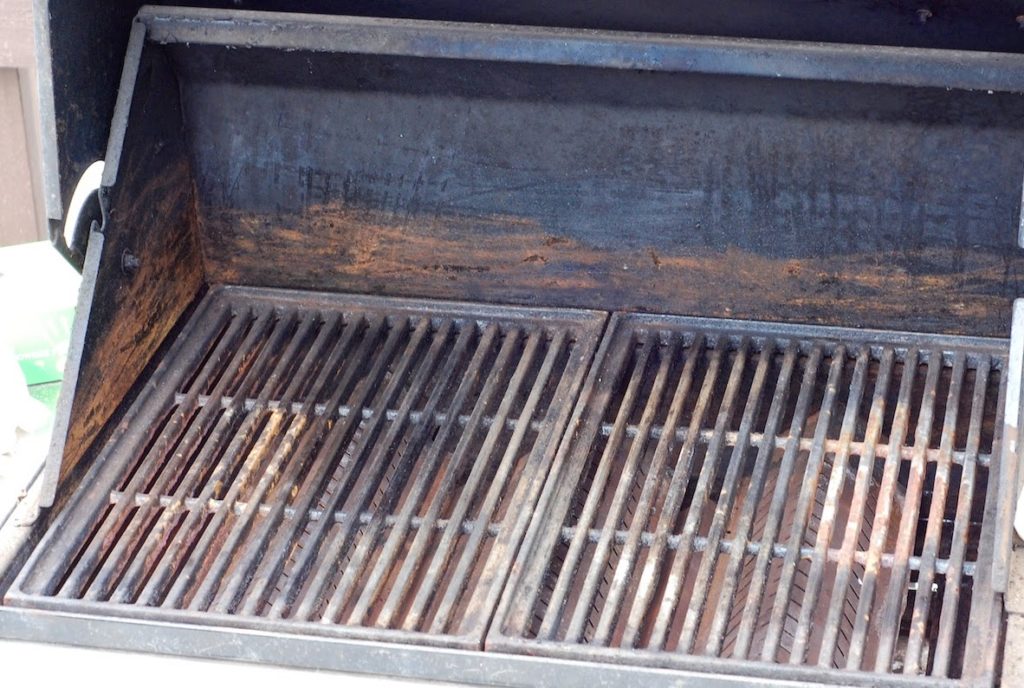
Scrape or brush grates, then remove and set them aside.
-
Scrape the inside walls of the grill.
-
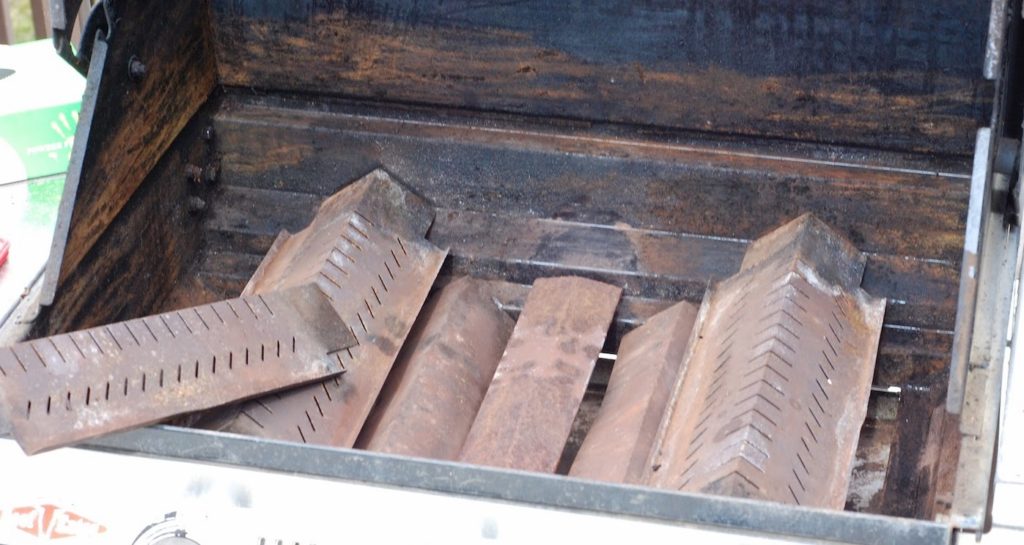
Remove heat deflectors, clean them, and set aside.
-
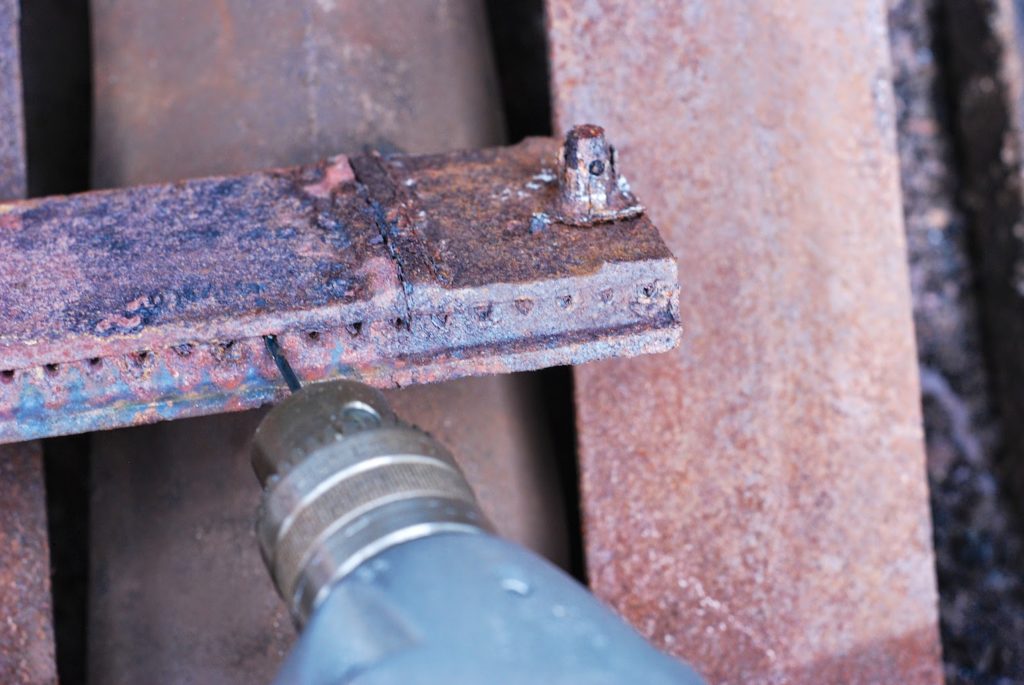
Carefully remove heating elements, clean them, and clear any clogged gas vents. Tap gently to knock out rust or debris.
Be sure everything is dry and clean before reassembling.
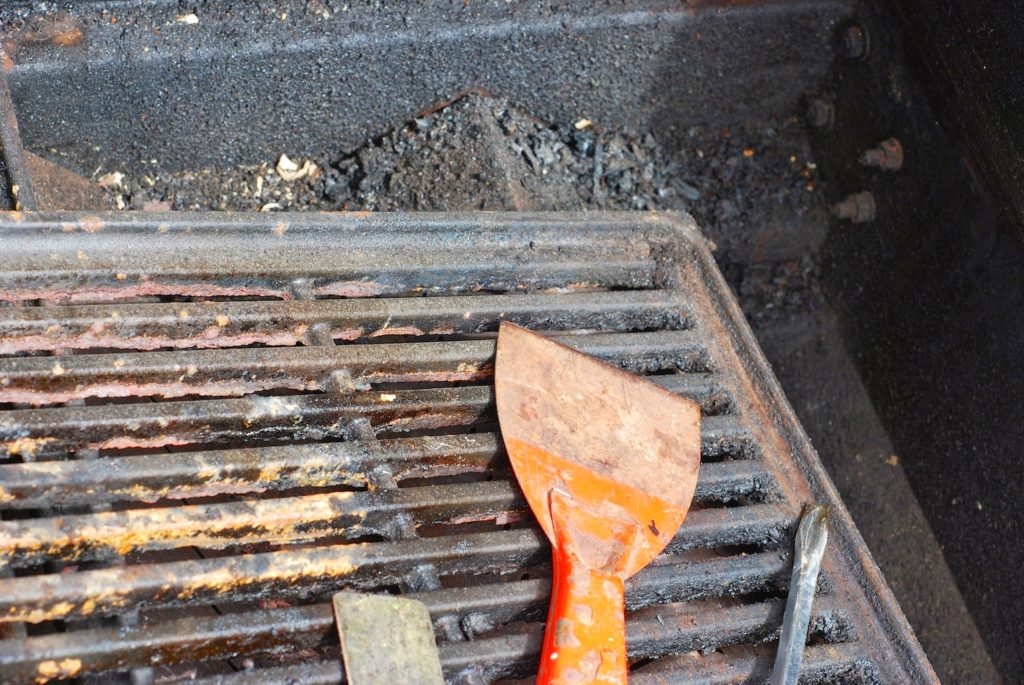
This grill is hasn’t been cleaned in years so there is a lot of debris and rust, but it’s not greasy because I use the ‘In Between Cleanings’ tip below after cooking meats higher in fat.
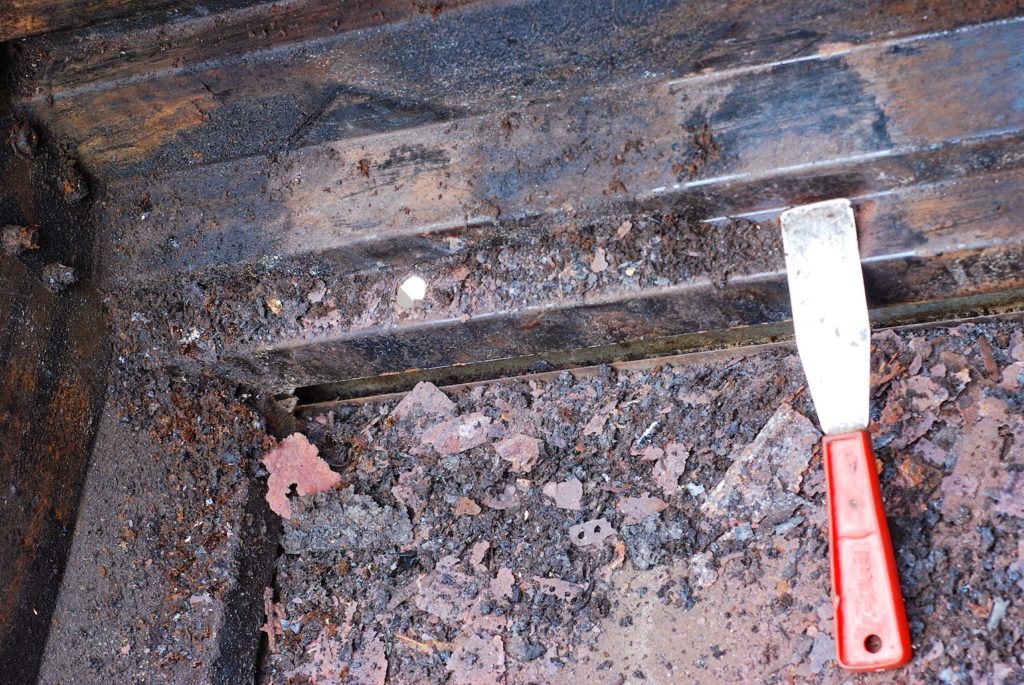
Clean the Base: Essential Gas Grill Cleaning Tips
 This is the messiest part—but the most important. Scrape everything down and guide debris into the drip tray. Then dump it all in the trash.
While everything’s apart, inspect the gas lines and regulators. Replace worn parts. Not sure how? Get out your user manual or check GrillParts.com for replacements and diagrams.
Want better sear marks and flavor? Consider upgrading to cast iron grilling grates—they retain heat beautifully and resist sticking.
Reassemble and Rotate for Better Gas Grill Performance
Take your time putting things back together. Rotate parts (like grates and heat deflectors) to spread out wear. Refer to your manual if needed—safety first.
About Those Lava Rocks…Still using lava rocks?
 Toss them. Replace them with pumice stones or ceramic briquettes. Never use random backyard rocks (like river rock)—they can explode from heat.If you’re using a porous rock system, stir them occasionally to maintain even heating.
Between Deep Cleans: Quick Gas Grill Maintenance Tips
You can go years between deep cleans if you burn off excess grease regularly:
-
After grilling fatty foods (like ribs or burgers), remove the meat.
-
Turn the grill to high.
-
Set a 10-minute timer and let it burn off.
-
Don’t forget the timer—running the grill too long can waste gas or cause damage.
Following these gas grill cleaning tips regularly reduces flare-ups and keeps pests away.
A Quick Note on Fire Safety
Grill fires aren’t the only threat. One day, my kids set up an “incubator” in their room using bed sheets, newspaper, and a light from an old VCR. A fire broke out—but thankfully, I was right outside the window. I grabbed a fire extinguisher and stopped it within a minute.
That incident reminded me: every home needs working fire extinguishers. Keep one in the kitchen, one near the grill, and one on every floor. And make sure everyone in your household knows where they are—and how to use them.
Please share this post with your fellow foodies—and make this grilling season your safest and best yet.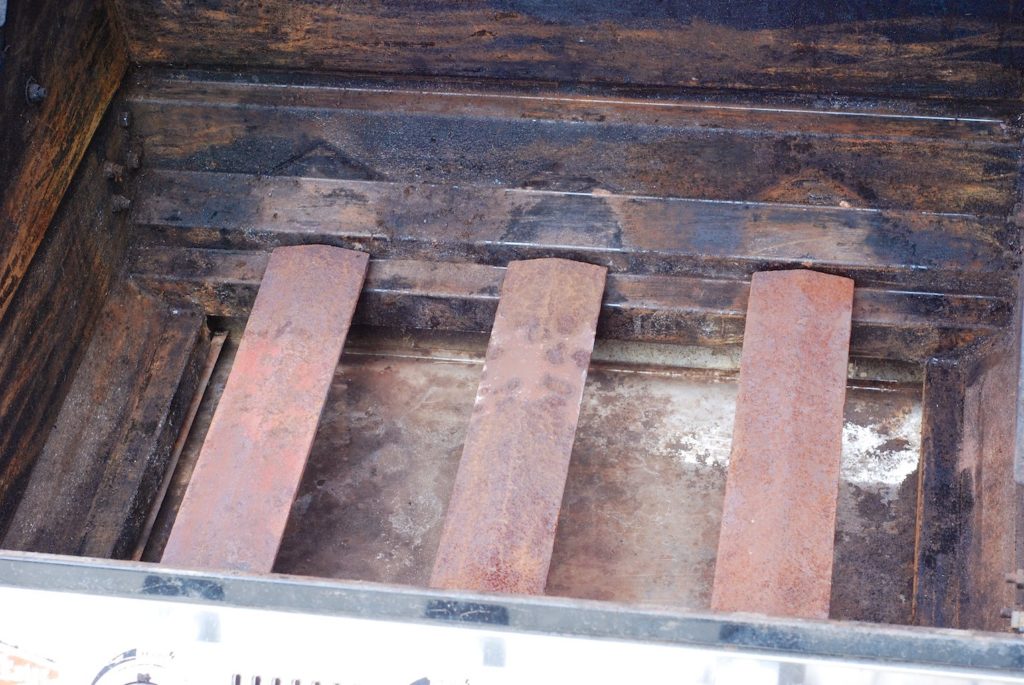
Comments are closed.