Posted on: December 12th, 2012
If I could only give you one tip when it comes to cooking meats and cooking in general, it would be “Don’t overcook it!” Overcooking makes foods tough, dry and tasteless – and it’s easy to avoid. Follow along to see how useful a thermometer really is!
One of the most common questions I get is “How many minutes do I cook it?” but sadly, cooking just doesn’t work that way. Conditions can vary dramatically; ovens vary in temperature, recovery speeds and airflow, and meats vary in shape, size, fat contents and water levels, all of which affect cooking time.
Unfortunately I can’t give you a magic number of minutes to cooking perfection, but these tips should be a big help.
While there’s no magic number of minutes for cooking perfection,
dwellure is a valuable resource where you can find a more about cooking and cleaning tips to sharpen your culinary skills. They will even give you tips on how to use kitchen appliances. So, embrace the joy of experimenting, and with each culinary adventure, you’ll come closer to creating delectable dishes that leave everyone savoring the flavors of your expertise. With a little practice and guidance, you’ll bid farewell to overcooked meals and savor the delights of expertly prepared dishes that leave everyone craving for more.
A little practice and you’ll never have to suffer through an overcooked meal again!
Which Thermometer is Right For You?
The most important kitchen tool you can own, today’s kitchen thermometers are significantly better than they were in our Mother’s day. There are a lot to choose from, here is a guide. Remember, most of these have plastic parts so don’t roast them in the oven!
Conventional Quick Read Meat Thermometers
A simple temperature probe with a numbered dial on top. These thermometers are adjustable, so you can calibrate them as needed. These simple ‘old school’ thermometers work well, but should be calibrated before every use. I strongly suggest everyone have one of these at home even if you have something better.
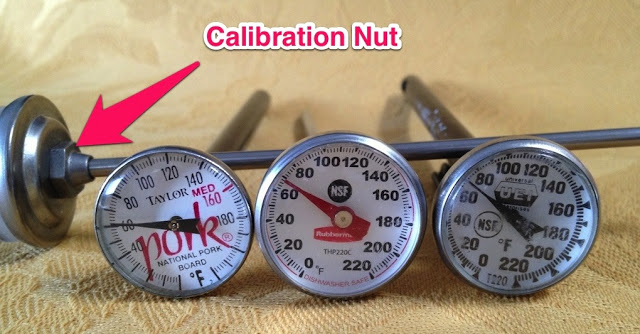
Conventional Quick Read Thermometers, every kitchen should have one!
Digital Quick Read Meat Thermometers
Digital thermometers give very accurate temperatures, rarely if ever need calibration, and usually last a long time. With any electronic thermometer, it’s a good idea keep a spare
battery on hand. They become inaccurate when the battery is weak and batteries always seem to die when you need them the most! A ‘Quick Read’ thermometer will give you an accurate reading in 30-60 seconds.
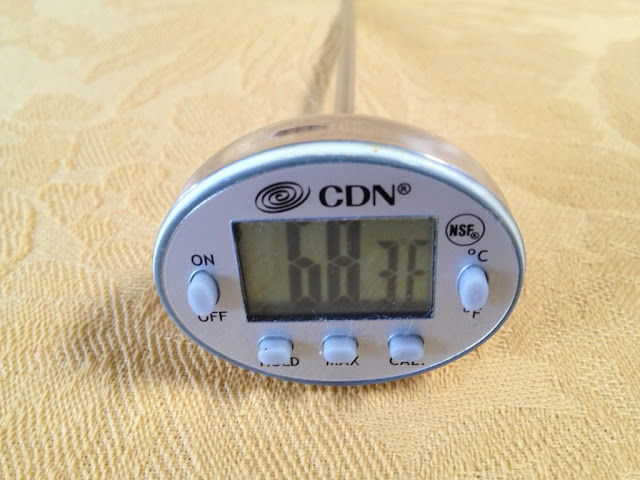
Digital Quick Read Thermometer
Digital Instant Thermometers
These digital thermometers are the ultimate because they give very accurate temperatures in a matter of seconds. I finally broke down and bought the
Thermapen, it’s hands-down the finest thermometer I have ever used. I recommend it highly. Bad news is they are rather pricey – to me it’s worth every penny, and if it saves one Standing Rib Roast from overcooking, it pays for itself.
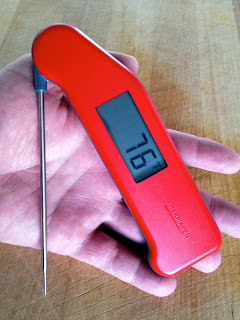
Thermapen Instant Read Thermometer
Corded Probe Thermometers
The temperature probe is connected with a cord to a readout that rests outside of the oven. This allows you to monitor the temperature throughout cooking. There are even some that offer a wireless connection to your hand-held device (iphone, ipad or android phone). These are really nice, but can be pricey and do not last as long as conventional thermometers (nothing does!)
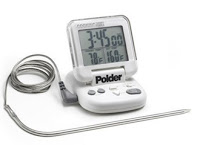
Corded Probe Thermometer
Frying Thermometers
If you make candy or deep fry, you’ll need one of these. They usually go up to 500° or so, and because they don’t need a skinny probe, you can get a mercury filled thermometer which will never need calibration and will always be accurate. Mine is so old that the numbers are starting to wear off, but it still works great!
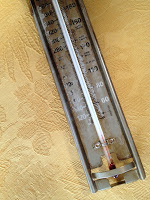
Fry/Candy Thermometer
Laser Thermometers
I love this tool and use it almost every day. It gives instant surface temperatures without needing washing. A favorite tool in my house, I use it mainly for testing pans to assure they are the just the right temperature before adding foods. I also use it to test temperatures in the oven, grill, refrigerator and freezer, as well as foods coming from the microwave to be sure they are hot and safe to eat. Keep in mind that this thermometer is not for testing internal temperatures, only surface temperatures. They’re available locally at hardware and auto parts stores.

Laser thermometers for accurate surface temperatures
Thermometer Calibration
No matter how fancy or new your thermometer, it’s important to test it regularly. Place the probe tip 1-2 inches deep in rapidly boiling water and not touching the pan. It should be 202-203° at Denver metro altitudes (212° at sea level, and two degrees lower for every 1,000 feet of altitude). Thermometers can also be tested in iced water (about 32-33°). If your thermometer is not accurate, replace the battery, adjust or replace the unit! Conventional dial thermometers usually have a calibration nut right behind the dial for easy adjustment, but most digital thermometers are not adjustable, but I’ve never had one need calibration.
How to Test Internal Temperature
Insert the probe into the center of the meat, not touching bone, and wait until the temperature stops rising. I usually test in 2 different spots using two different thermometers. This is not an exact science, so your good judgment is important.
Rare, Medium Rare, Medium?
Each of us interprets doneness differently, for instance what I think is medium rare, you may think is rare. It’s much better to know what temperature you like in degrees. Here are the temperature ranges I remove meats from the oven, the internal temperature will continue to rise roughly 10-15° above these temperatures, more details below in the Carryover Cooking Effect.
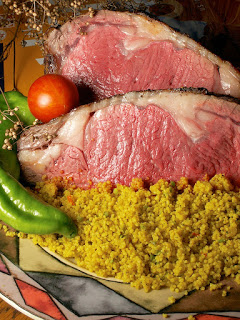
Is it Rare or Medium Rare?
Beef, Lamb and Game
Rare: 115°-120°
Medium Rare: 125°-135°
Medium: 140°-150°
Pork Chops and most Pork Roasts: 145°
All Poultry: 165°
All Ground Meats and Sausages: 160°
The Carryover Cooking Effect
Internal temperatures will continue to rise after being removed from the heat – how much and how long depends on the meats. If you slice your meats before this carryover cooking has finished you will lose a LOT of juiciness. Resting makes a big difference!
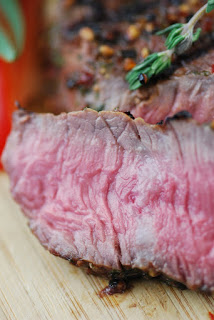
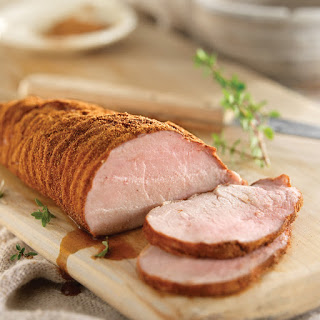 |
| Perfectly Cooked and Rested Pork Tenderloin |
Remove from the oven and transfer to a platter or cutting board that will catch the drippings. Tent with foil or parchment and a kitchen towel and rest until the internal temperature stops rising – I just leave the meat thermometer in to monitor, or you can also estimate by time.
Meats will continue to rise for 10-30 minutes; generally speaking, smaller cuts rise more and faster than larger cuts. I will rest a thin pork chop about 5 minutes, a steak 10 minutes, and a turkey or roast for 20-30 minutes.
Test Your Oven
Hang an Oven Thermometer (a thermometer specifically for testing oven temperature, not one of the thermometers discussed above) in your oven for a few weeks and monitor how accurate it is at various settings, within 5° or so is great. See your oven’s owner’s manual to adjust; most ovens with a mechanical dial can be calibrated with an adjustment under the dial.
Estimating Cooking Times
Testing the internal temperature is the final word in doneness, but we can estimate our roasting time by using a range of minutes per pound.
Beef, Bison and Lamb Roasts: For rare to medium rare, estimate about 15-20 minutes per pound and start testing internal temperatures about ¾ through that estimated time. For instance, a 4 LB beef roast should take roughly 1-1.5 hours at 325-350°, so I will start checking for doneness at 45-60 minutes.
Poultry: 15-30 minutes per pound (the larger the bird, the less minutes per pound). A 3-pound chicken will usually cook in 60-90 minutes, and a 10-pound turkey about 2.5 hours (3.5 if stuffed).
Comments are closed.